1. CSM Cloud Client Settings
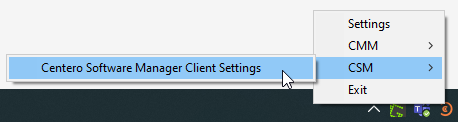
When CSM Cloud Client is properly installed, the settings can be opened by right clicking on system tray icon and selecting CSM > Centero Software Manager Client Settings
Tip!
To manage several CSM Cloud Clients you should use settings available in Customer Portal that are applied to all CSM Cloud Clients in group where settings are specified!
2. Group memberships
CSM Cloud Clients will receive settings from the CSM Cloud service from the groups where CSM Cloud Client belongs. Groups can have different configuration and these can be managed in Customer Portal by organization CSM administrators. CSM Cloud Client group memberships can be modified from Customer Portal and for individual CSM Cloud Clients also from the client settings.
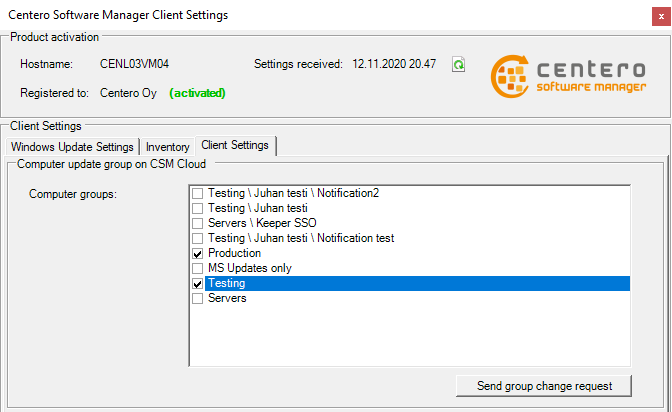
After required groups are selected on CSM Cloud Client settings, click Send group change request button to start changing client groups. Changing client groups will require Internet access and can take up to 2 minutes to finish.
Note!
After CSM Cloud Client is installed and approved by organization CSM administrator, the Windows Update client will start the initial registration process to CSM Service. This registration phase can take up to few hours depending of the amount of missing updates on client. During this registration process, only Customer root group is available on CSM Cloud Client settings. Please wait for a while and refresh the settings to see if registration has finished and other groups are available.
3.Windows Update Settings
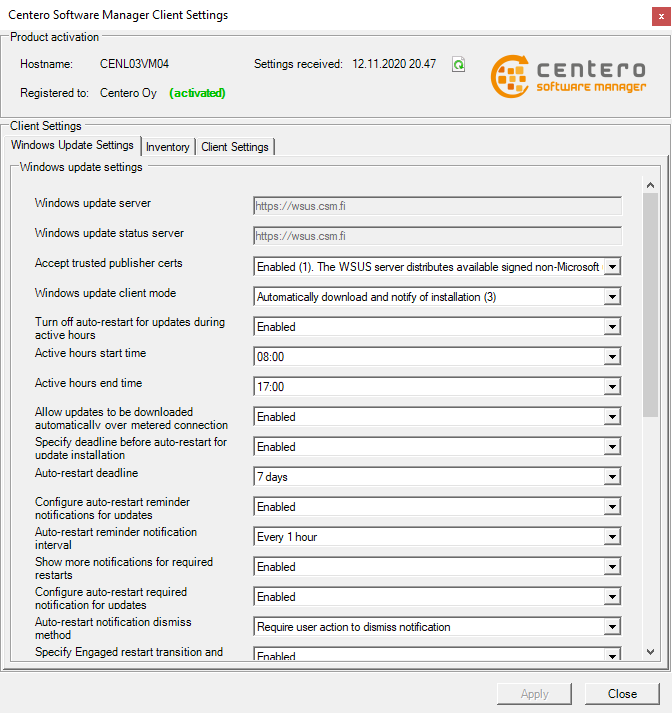 Windows Update client configuration can be changed also from individual CSM Cloud Clients. Some of the settings can be hidden or made un-changeable on CSM Cloud Client by the organization CSM administrators. Some basic Windows Update settings:
- Windows update client mode:
- 2 = Notify before download
- 3 = Automatically download and nofity of installation
- 4 = Automatically download and schedule installation. (Only valid if values exist for SecheduleInstallDay and ScheduleInstallTime.)
- 5 = Automatic Updates is required and users can configure it.
- No auto reboot with logged on users:
- 0 = Automatic updates notifies the user that the computer will restart in 15 minutes.
- 1 = Logged-on user can decide whether to restart the client computer or not.
- Elevate non admins
- 0 = Only members of the administrators security group can approve or disapprove updates.
- 1 = All the members of the users security group can approve or disapprive updates.
- Auto install minor updates
- 0 = Treat minor updates like any other updates.
- 1 = Silently install minor updates.
- Disable windows update access
- 0 = Enable access to Windows Update.
- 1 = Disable access to Windows Update.
- Reboot relaunch timeout
- Range between 1 - 1400 minutes. Time between prompts for a scheduled restart.
- Detection frequency
- Range between 1 - 22 hours. Time between update detection cycles.
- Reboot warning timeout
- Range between 1 - 30 minutes. Length in minutes of restart warning countdown after updates have been installed that have a deadline or scheduled updates.
Note!
When CSM Cloud Client settings are changed locally on individual CSM Cloud client, settings are saved to Customer Portal on next time when CSM Cloud Client will communicate with CSM Service.
4. Update schedules
Update schedules can be used to create maintenance windows to CSM Cloud Clients. Within maintenance windows CSM Cloud Clients can automatically install updates and restart the device if required. Update schedules are meant for devices where updates can be installed on specific times, like servers.
