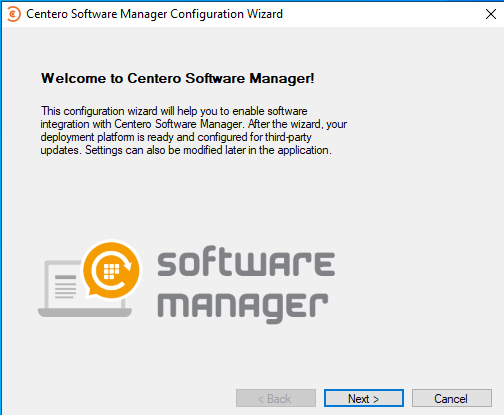
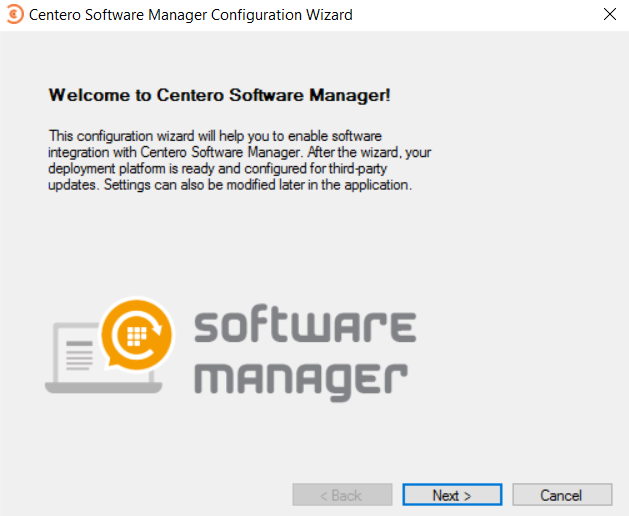
- Launch CSM from start menu. Select Next
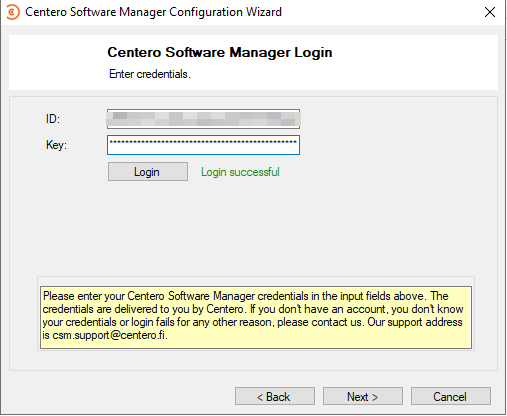
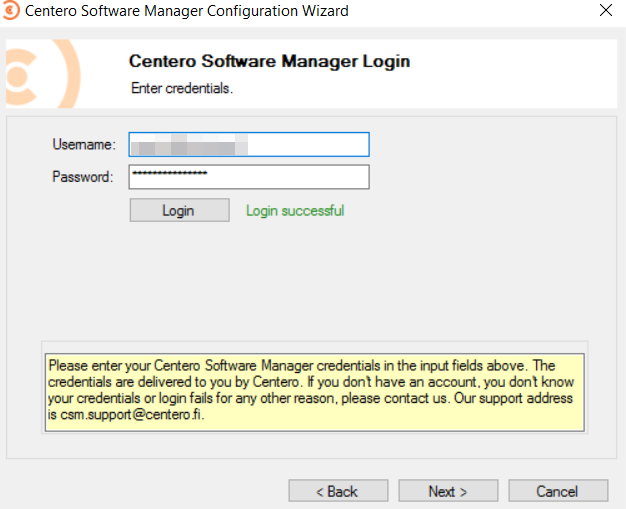
- Enter your Centero Software Manager ID and key. Select Login and Next.
- Follow these instructions to find ID and key
- Follow these instructions to find ID and key
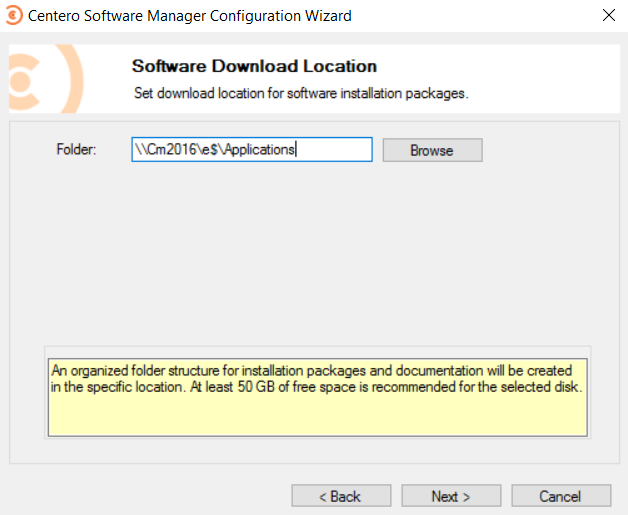
- Select path for 3rd party application installation files. Path can be a local folder or an UNC path. Local folder will be automatically converted to a network path for MECM, but applications will be downloaded to a local folder.

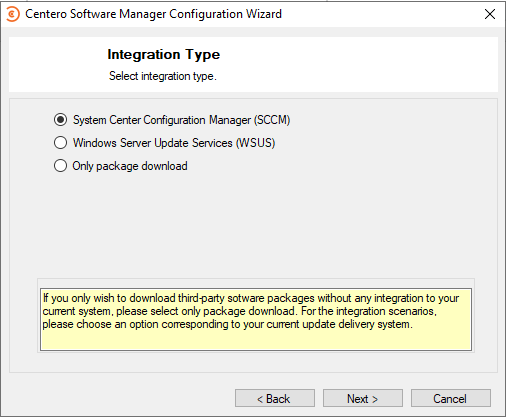
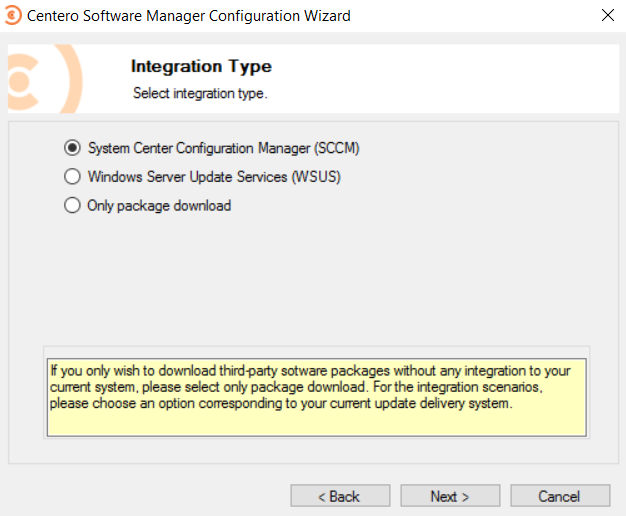
- Choose SCCM as an integration type and select Next
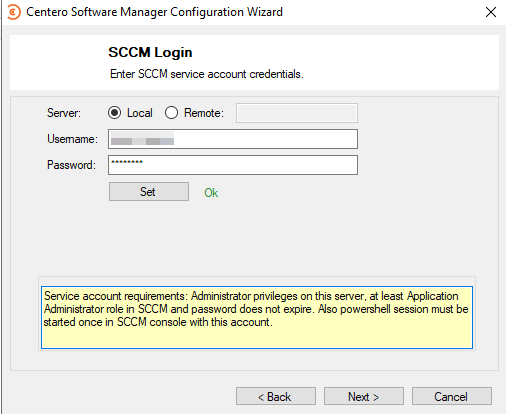
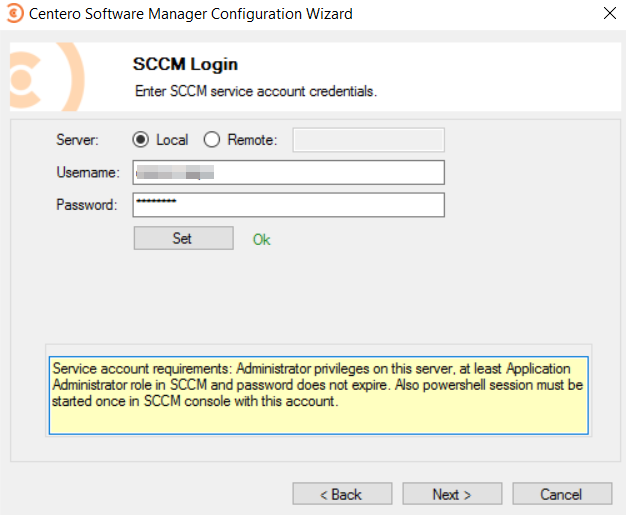
- Select Local or Remote depending on if you are installing on MECM server or to an remote server. Enter CSM service account credentials and select Set.
- Use DNS name (server.domain) if using remote server
- Service account requirements
- This might take a while if you have large environment (thousands of collections)
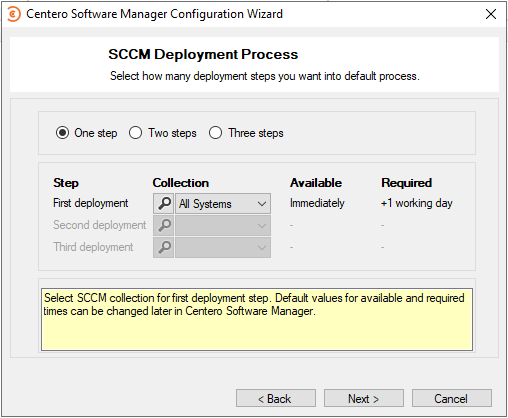
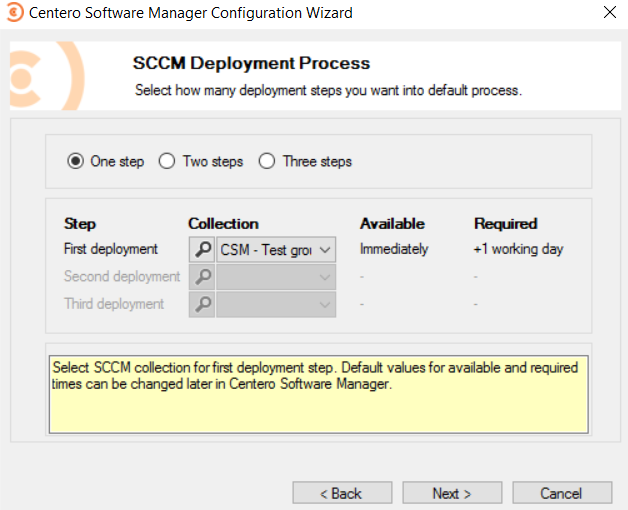
- Select collection(s) for default deployment process and select Next.
- Default deployment process is used as a base for new deployment processes
- You might want to just select your pilot group, so it will be used on all deployment processes
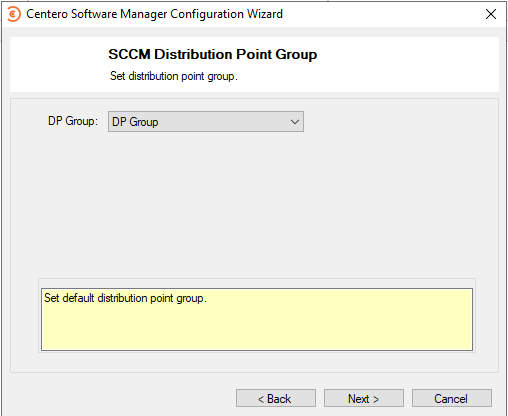
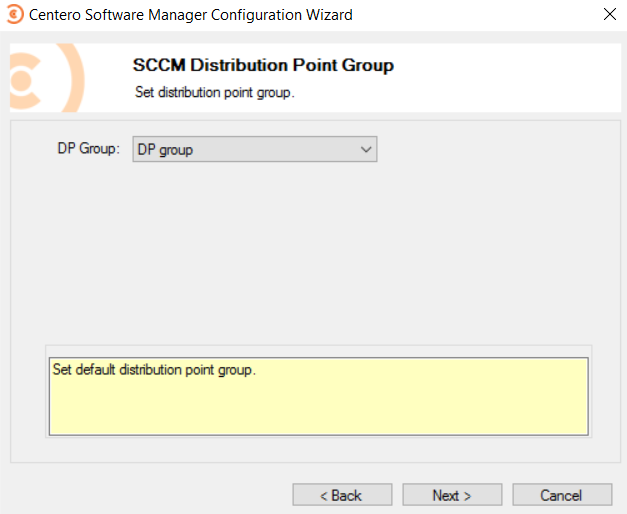
- Select a distribution point group and Next
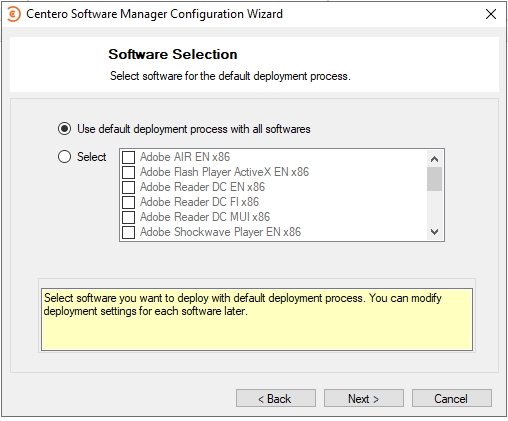
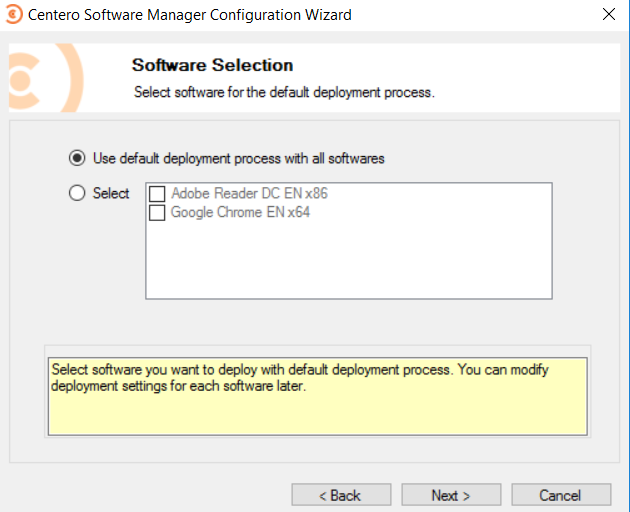
- Select which applications are selected to the default deployment process and Next
- Use default deployment process with all software
- This is the default option and it will add all applications to an automatically created deployment process
- Select: Application(s)
- If you want to select specific applications to an default process
- Use default deployment process with all software
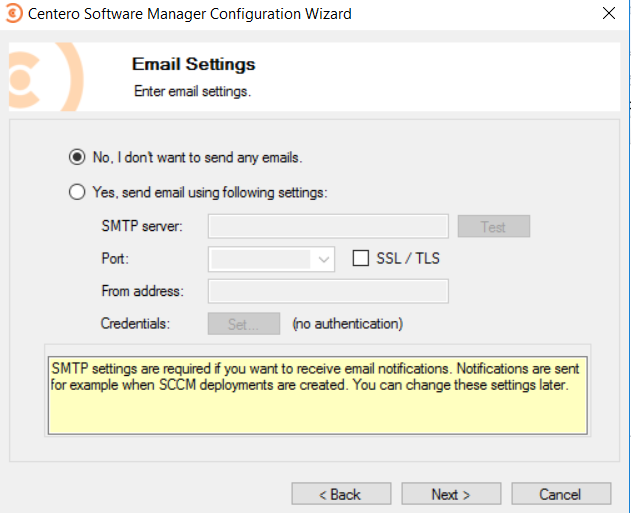
 Fill in your SMTP server settings if you wish to receive email notifications when CSM creates new application deployments. Select Next
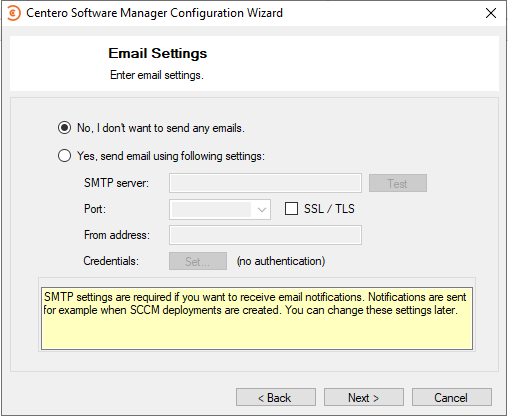
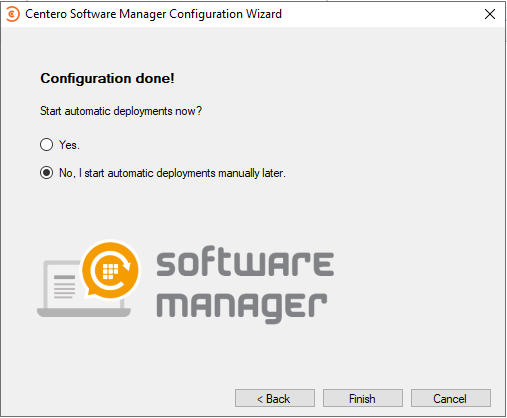
- Select Finish
- You can select Yes, if you are happy with the default deployment created during installation
- You can select Yes, if you are happy with the default deployment created during installation
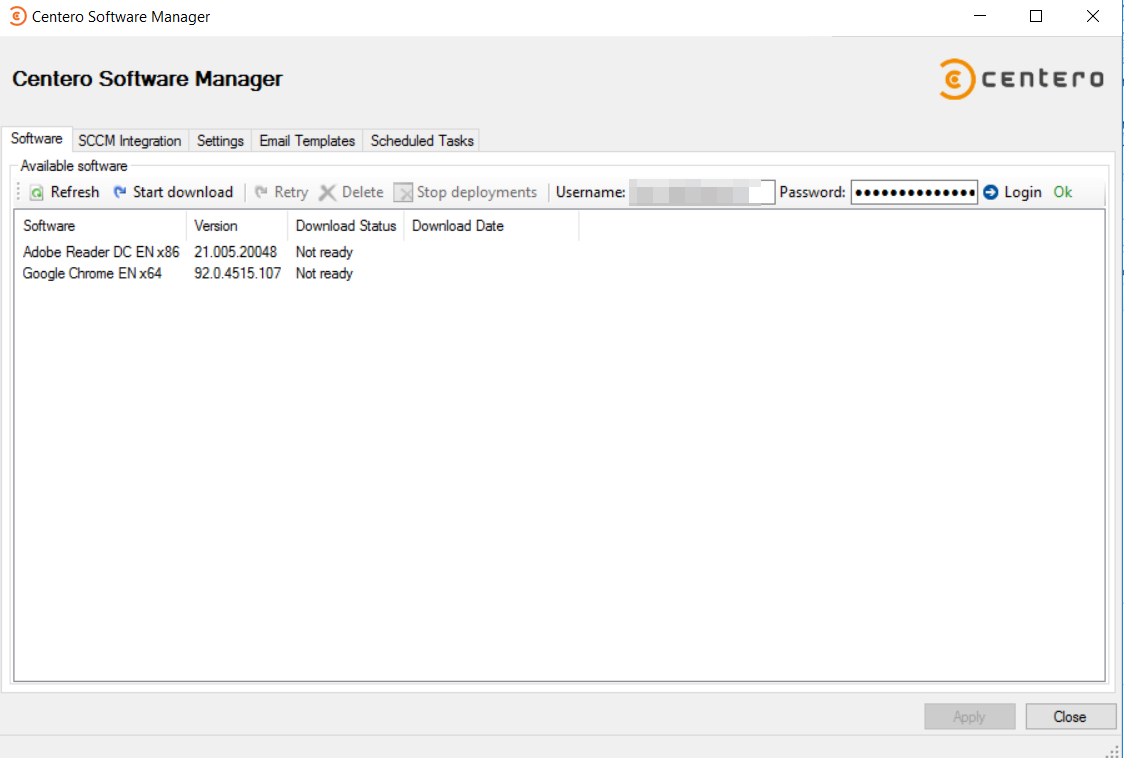
- CSM will start up and you can continue with further configurations


 Fill in your SMTP server settings if you wish to receive email notifications when CSM creates new application deployments. Select Next

- See also:
1.0.5088 and older versions
1. Launch CSM from start menu. Select "Next"
2. Enter your Centero Software Manager credentials. Select "Login" and "Next".
- You will receive CSM credentials after ordering CSM for MECM
3. Select path for 3rd party application installation files. Path can be a local folder or an UNC path. Local folder will be automatically converted to a network path for MECM, but applications will be downloaded to a local folder.
4. Choose "SCCM" as an integration type and select "Next"
5. Select "Local" or "Remote" depending on if you are installing on MECM server or to an remote server. Enter CSM service account credentials and select "Set".
- Use DNS name (server.domain) if using remote server
- Service account requirements
- This might take a while if you have large environment (thousands of collections)
6. Select collection(s) for default deployment process and select "Next".
- Default deployment process is used as a base for new deployment processes
- You might want to just select your pilot group, so it will be used on all deployment processes
7. Select distribution point group and "Next"
8. Select which applications are selected to the default deployment process and "Next"
- Use default deployment process with all software
- This is the default option and it will add all applications to an automatically created deployment process
- Select: Application(s)
- If you want to select specific applications to an default process
9. Type your SMTP server settings if you wish to receive email notifications when CSM creates new application deployments. Select "Next"
10. Select "No, I start automatic deployments manually later" and "Finish"
- You can select "Yes", if you are happy with the default deployment created during installation
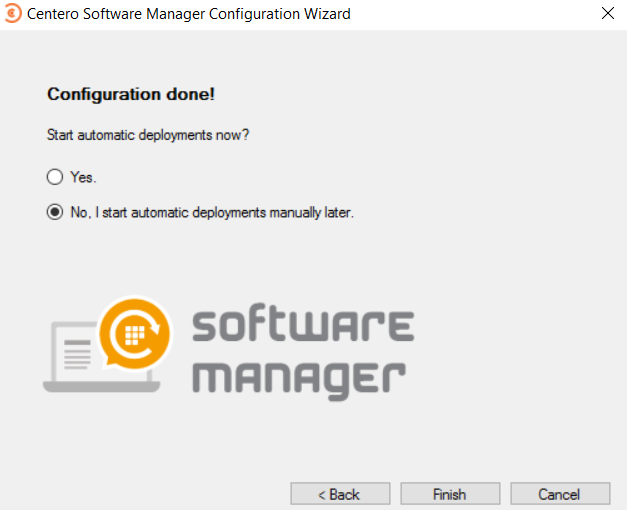
11. CSM will start up and you can continue with further configurations